Module 2 Activity Research
Weekly Activity Template
Callan Yates
Project 2
Module 2
Througout module 2, I enriched myself in the various fields the product I am attempting to create dabbles in. I focused on the various components that are envolved in creating it, and conducted prototyping to get an idea of the direction I may want to take the object in.
Activity 1: My Resarch


Activity 2: My Reearch
Additional Research or Workshops
Project 2
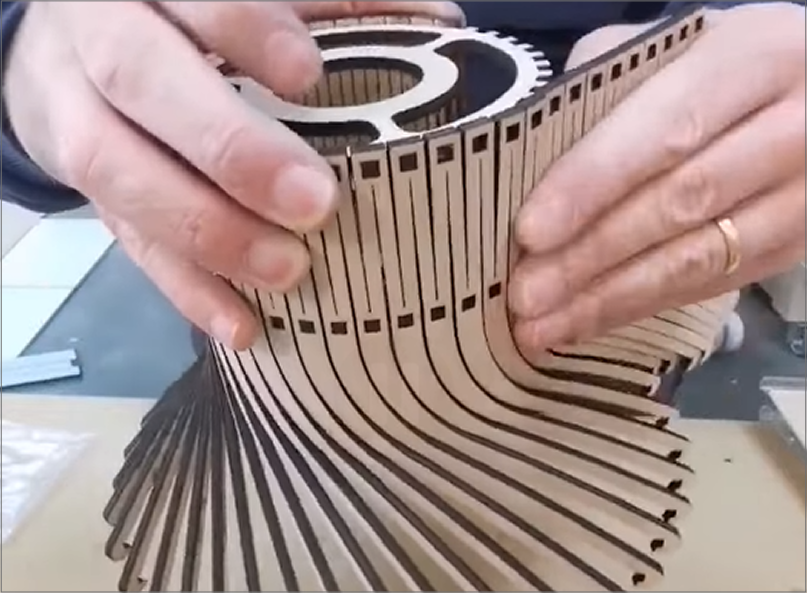
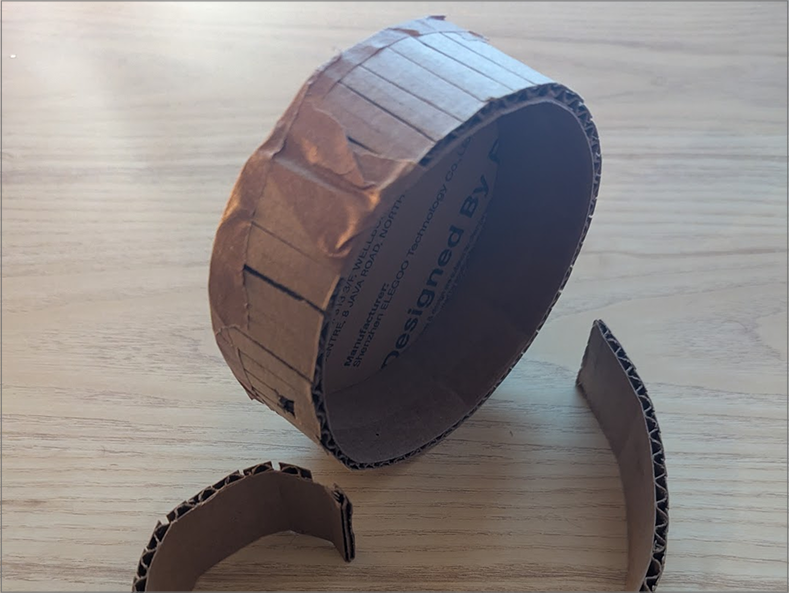
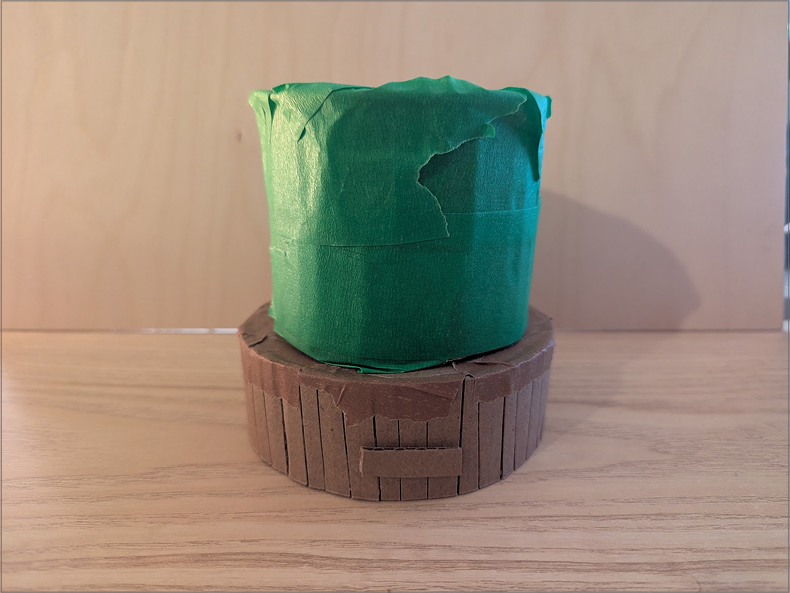
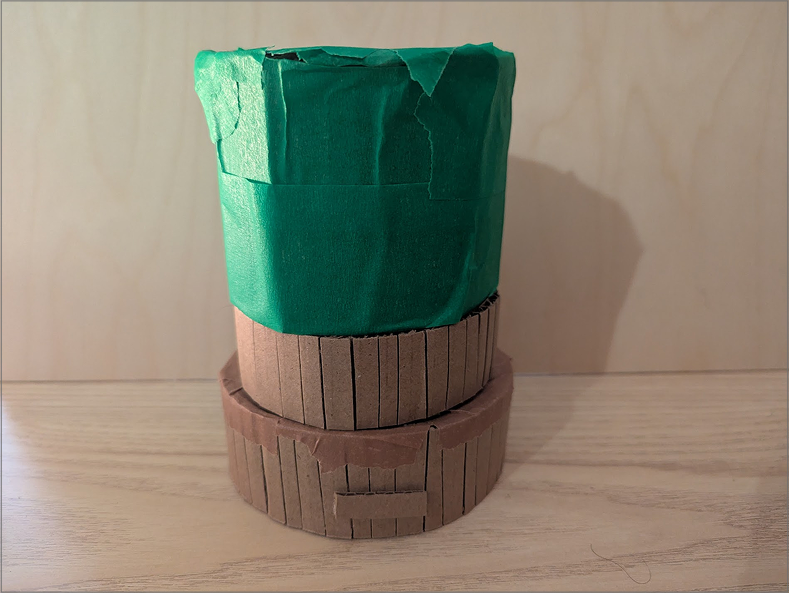
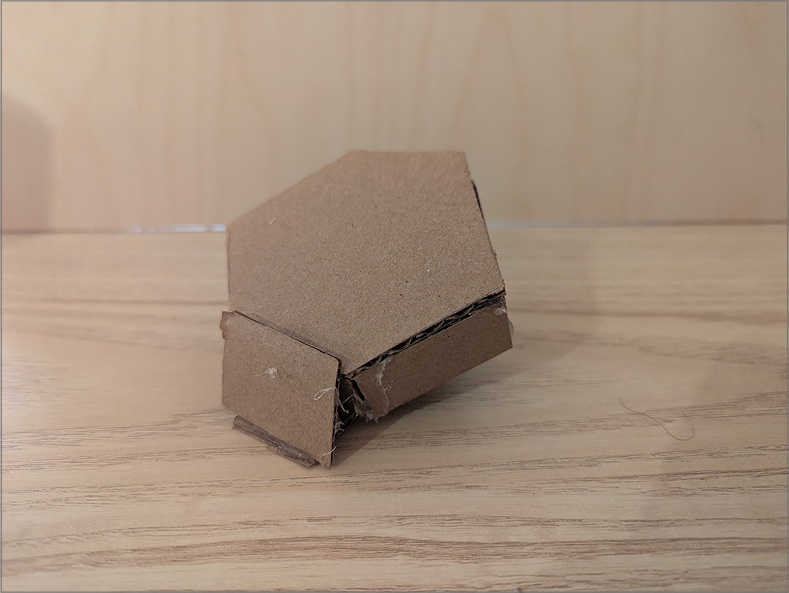
Project 2 Prototype
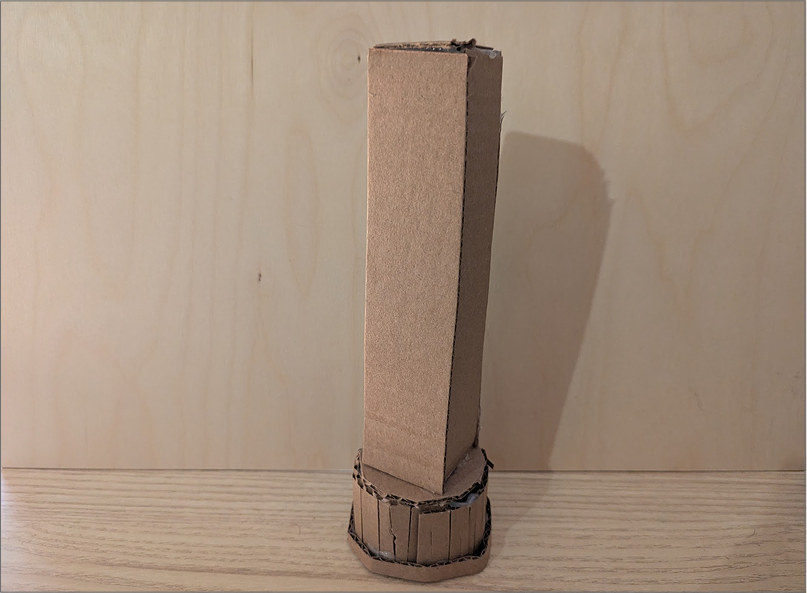
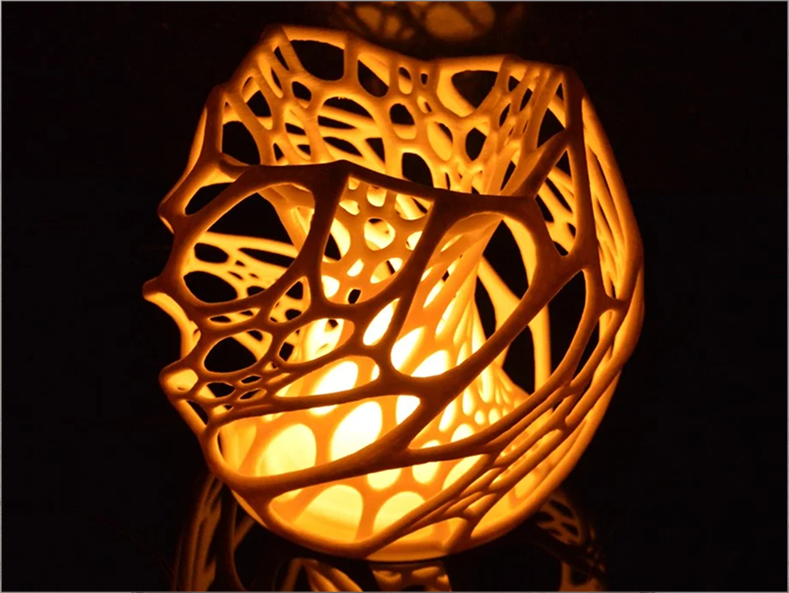
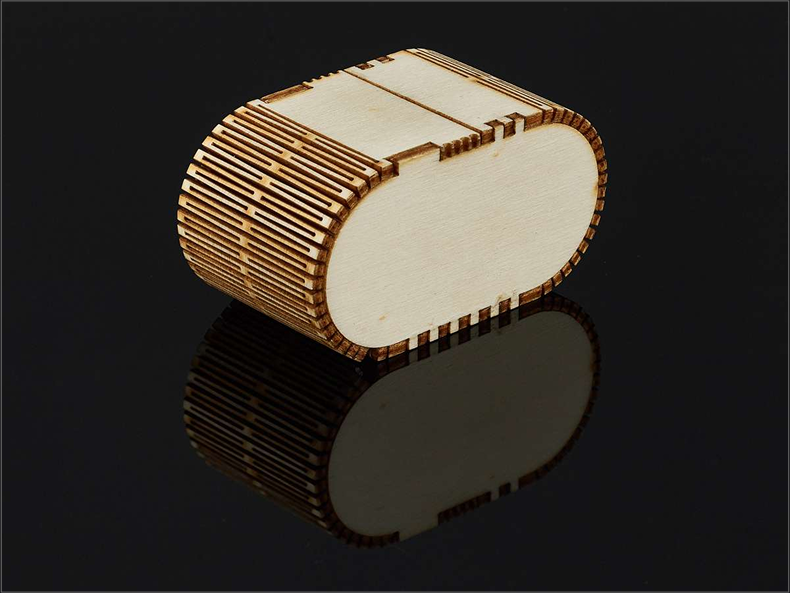
As of right now, I am leaning into using the rounder lamp as a leading prototype to develop further. Elements I desire to include with further iteration include making the diffusor taller like the rectangular one, and playing with the diffusor shape like the hexagonal one.
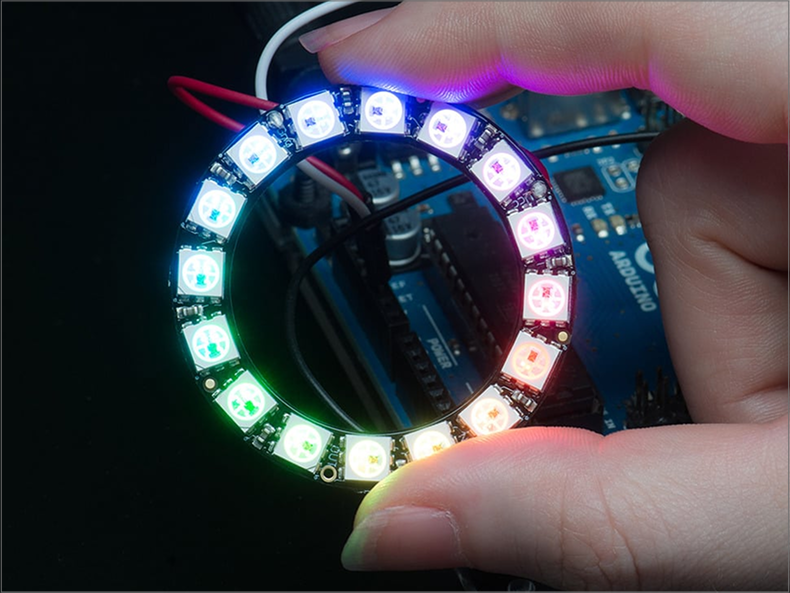
For next steps, I plan to experiment with the supersonic sensor and use the cardboard prototyped layout when considering how it would appear. I also plan to 3D print a test diffusor to see how the LEDS will shine through.

Powered by w3.css